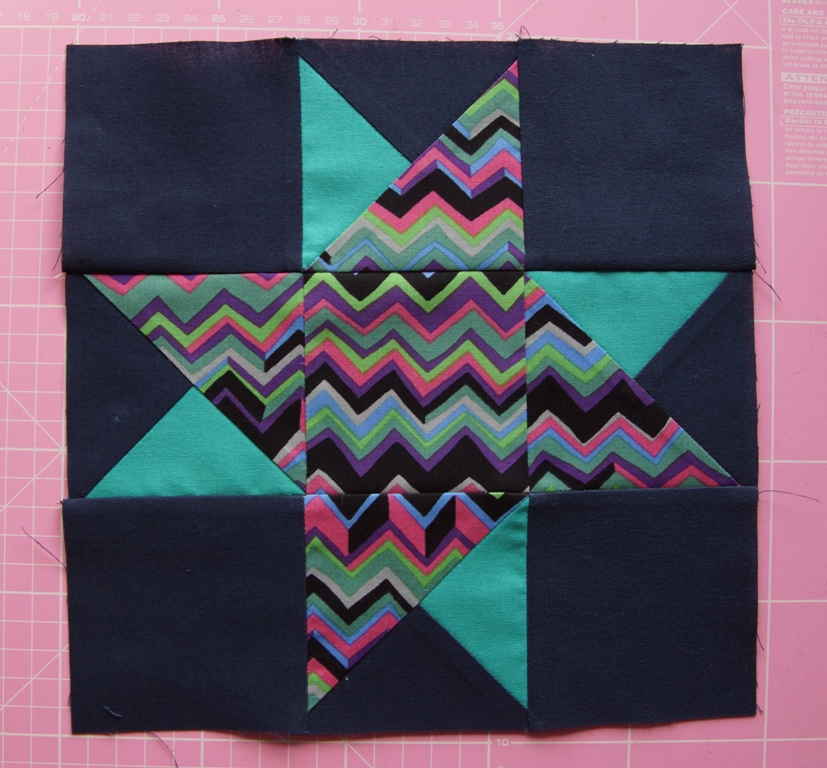
Block of the Whenever #9
I was originally going to make a Friendship Star for this block, but a traditional Friendship Star only uses one fabric (other than the background), and I wanted to include at least one solid along with each print. So I decided to make it a Double Friendship Star instead.
For this block, unlike all the others so far, you have to cut out more fabric than you’re actually going to use, because you end up with quarter-square triangles with opposite handedness, so you have to make twice as many as you actually need. Well, actually, I think you could make it without the extra QSTs, by cutting individual little triangles to make them from, instead of starting from squares, but that would be really fiddly and involve a lot of bias edges, so I decided to just waste a bit of fabric and do it the easy way.
Because of needing the extra fabric, I couldn’t get the whole block out of one 10-inch square. Luckily a lot of the fabrics in the layer cake are repeated, so it was easy to find two squares of the same fabric.
For this block you’ll need:
Print: one 3 1/2 inch square and four 4 inch squares
Solid: two 4 1/2 inch squares
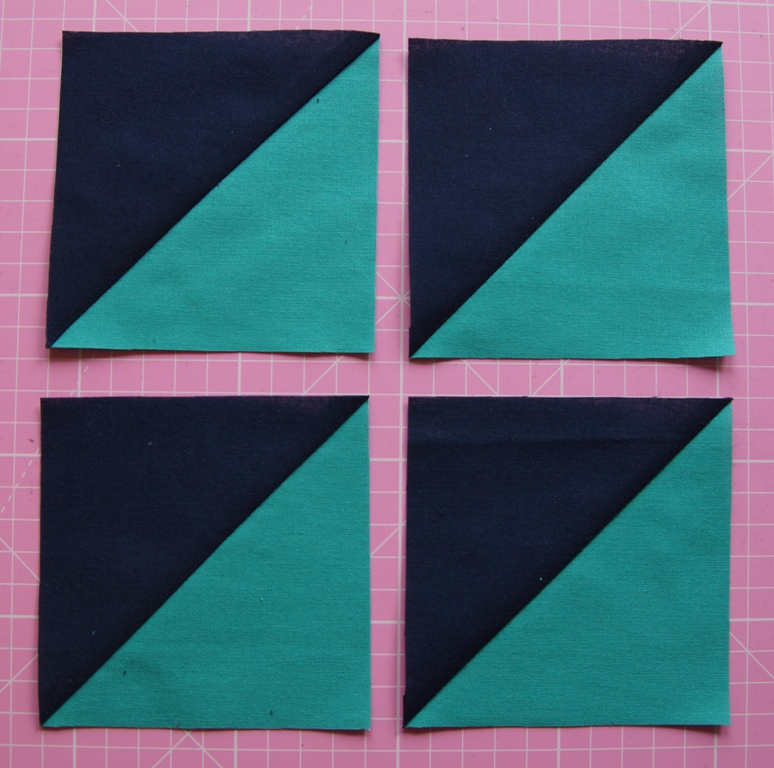
Background: two 4 1/2 inch squares and four 3 1/2 inch squares

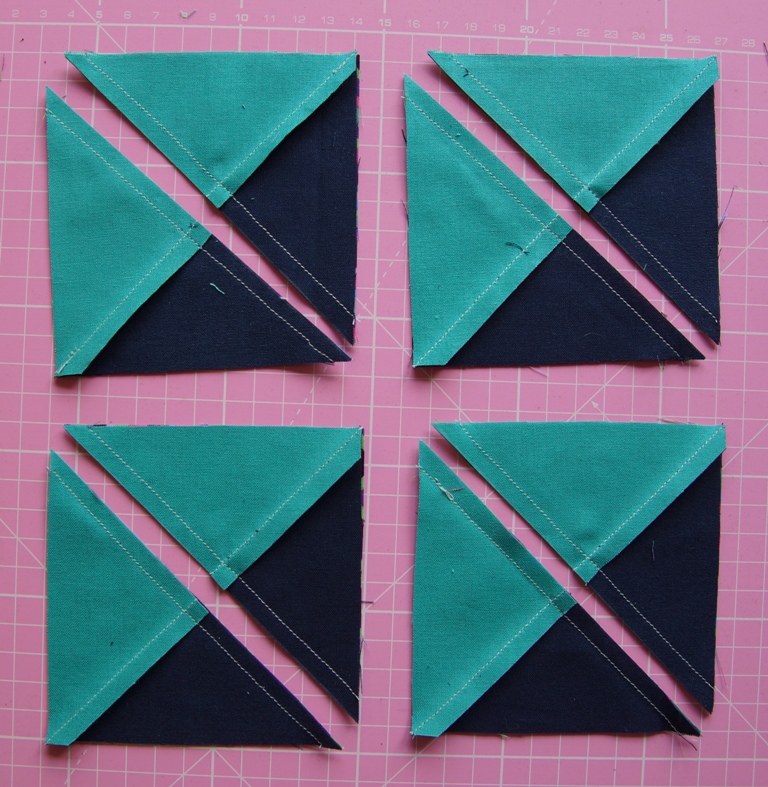
Pair the solid and background 4 1/2 inch squares to make four half-square triangles, using the same technique as for the Shoofly block.
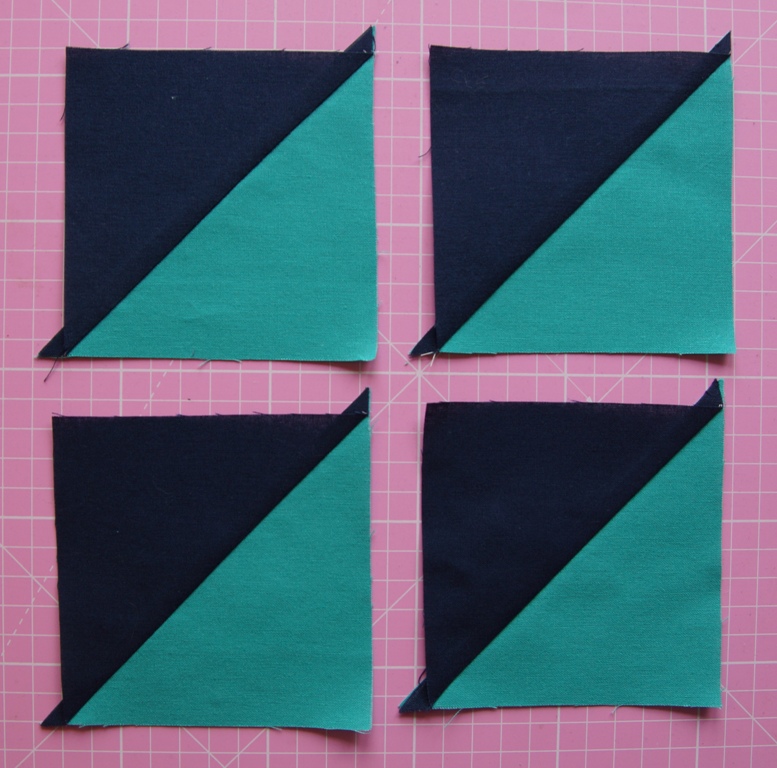
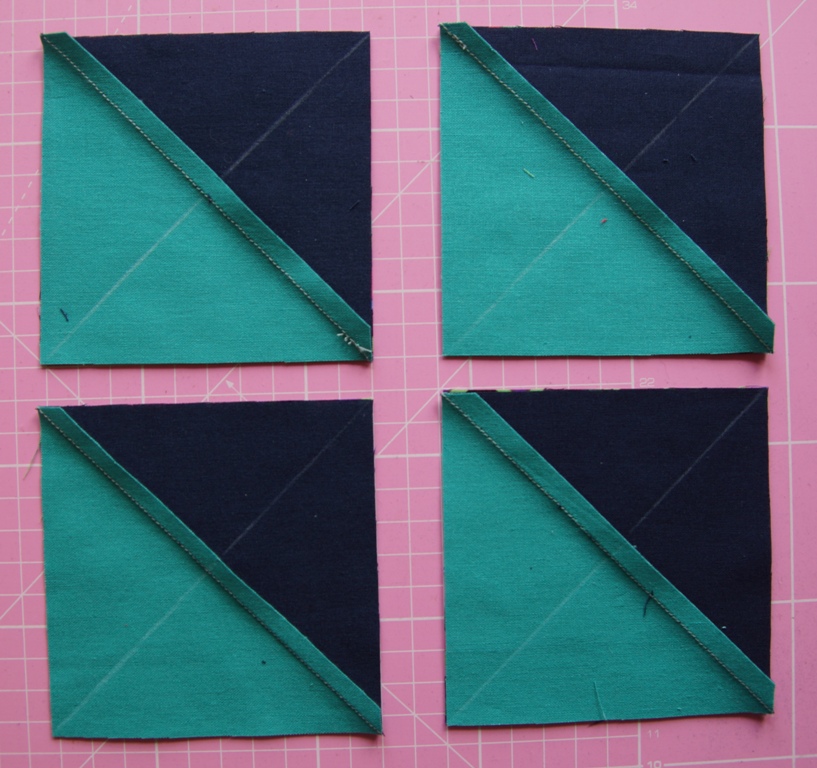
Trim the HSTs to 4 inch squares.
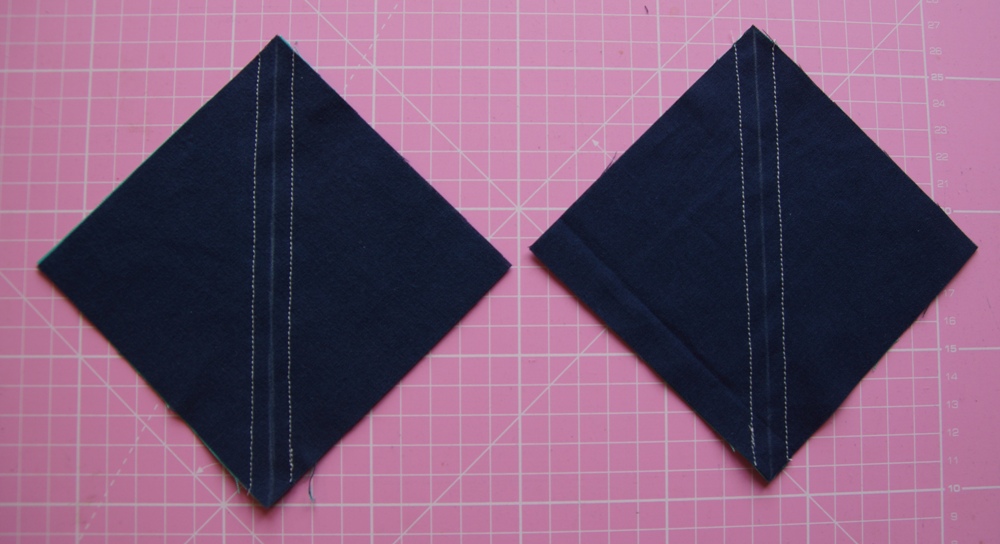
Draw another diagonal line from corner to corner across each HST, in the opposite direction to the seam, and pair each one with a print 4 inch square.
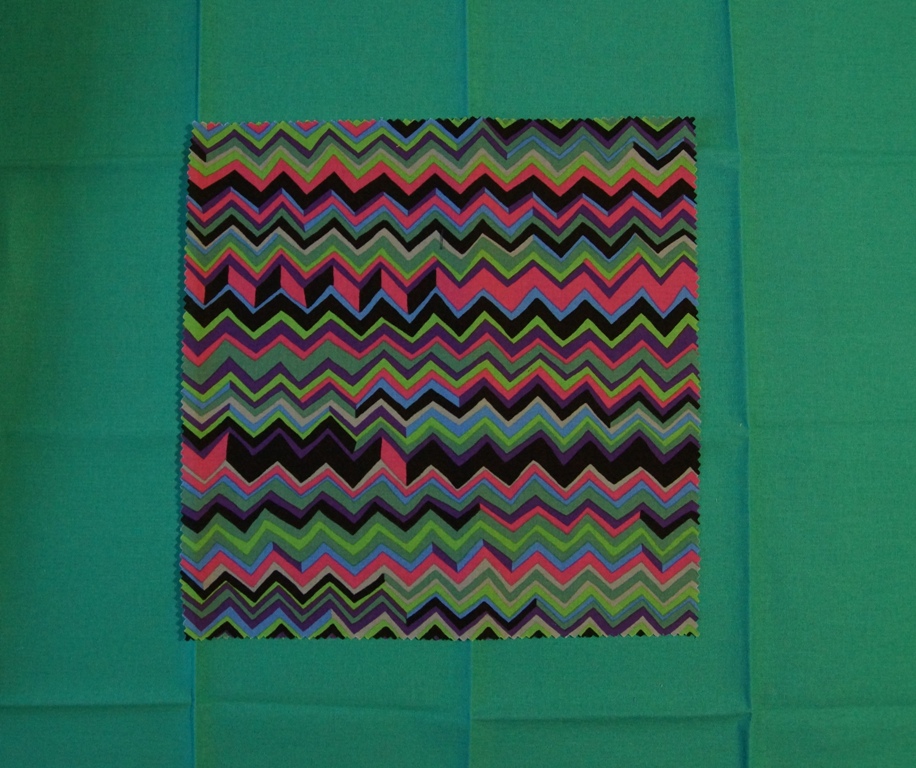
Because I was using a striped fabric, and wanted to make sure all the stripes ended up facing the same way, before I sewed the seams I folded the fabric over to double-check I had it oriented correctly (obviously, if you do this, unfold it again before you sew).
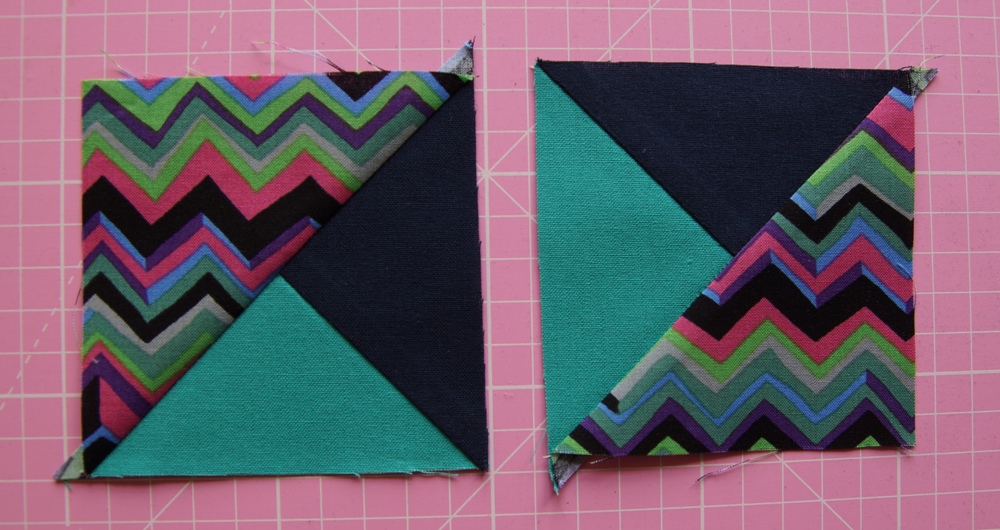
Sew either side of the marked line, cut apart, and press open.
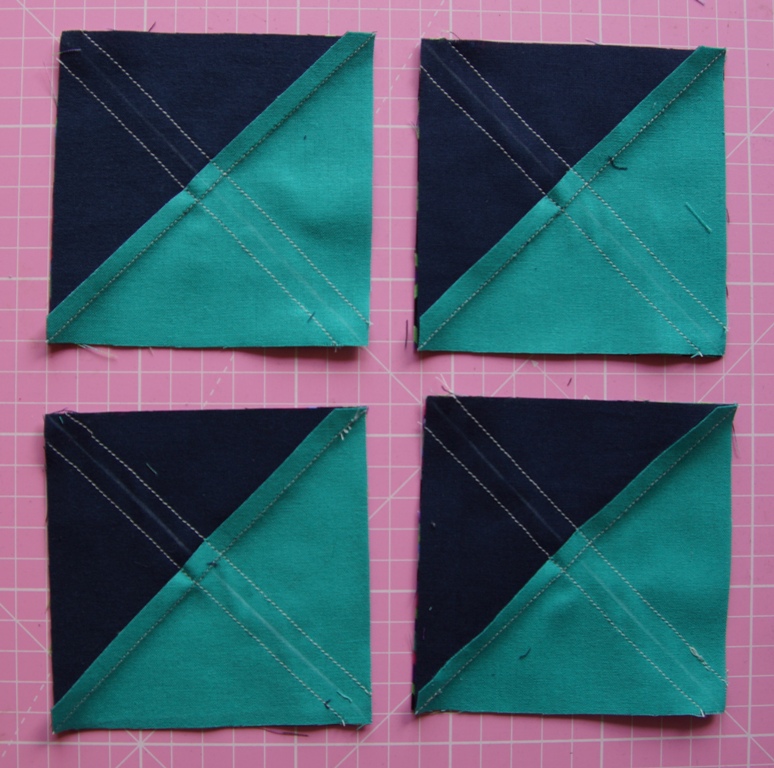
This is where the handedness comes in. Each pair of QSTs will have one that goes anticlockwise print-solid-background, and another that goes clockwise print-solid-background.
Sort the QSTs into the two types, and pick one set to use. In theory you could just chuck the other set away (and in fact, you don’t technically even need to sew the second seam), but I kept them in case I want to make a second block out of them one day.
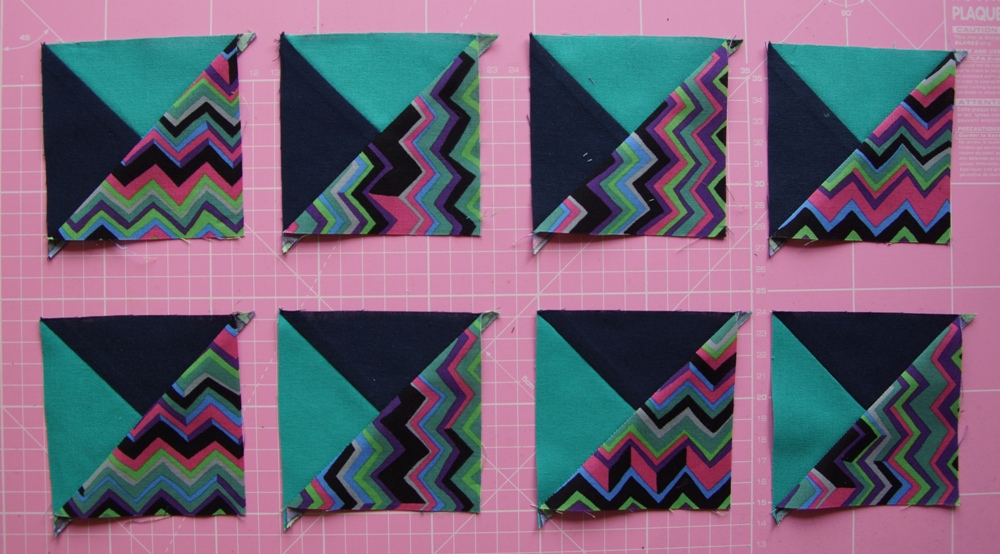
Trim the set of QSTs you’ve chosen to 3 1/2 inch squares.

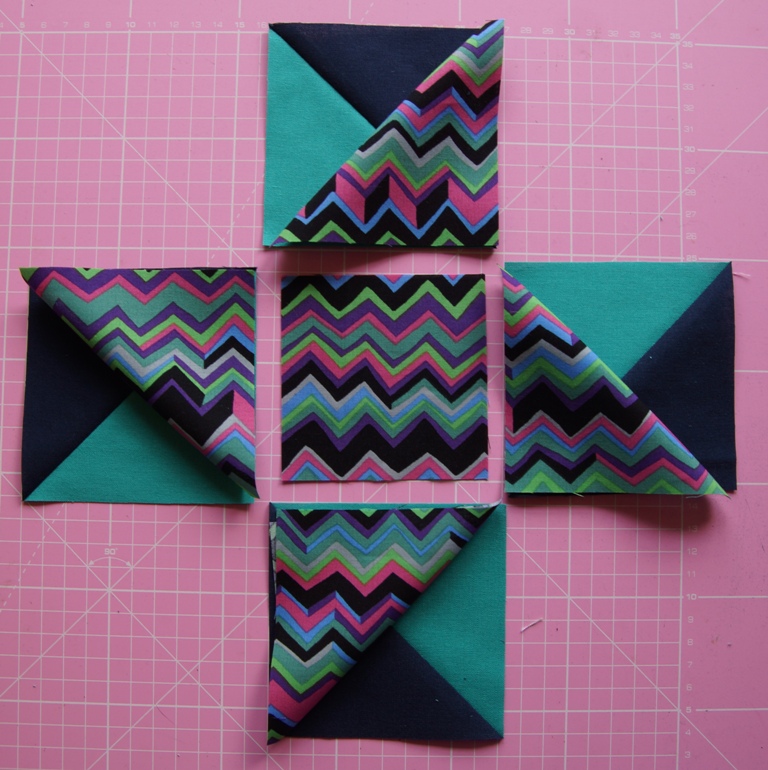
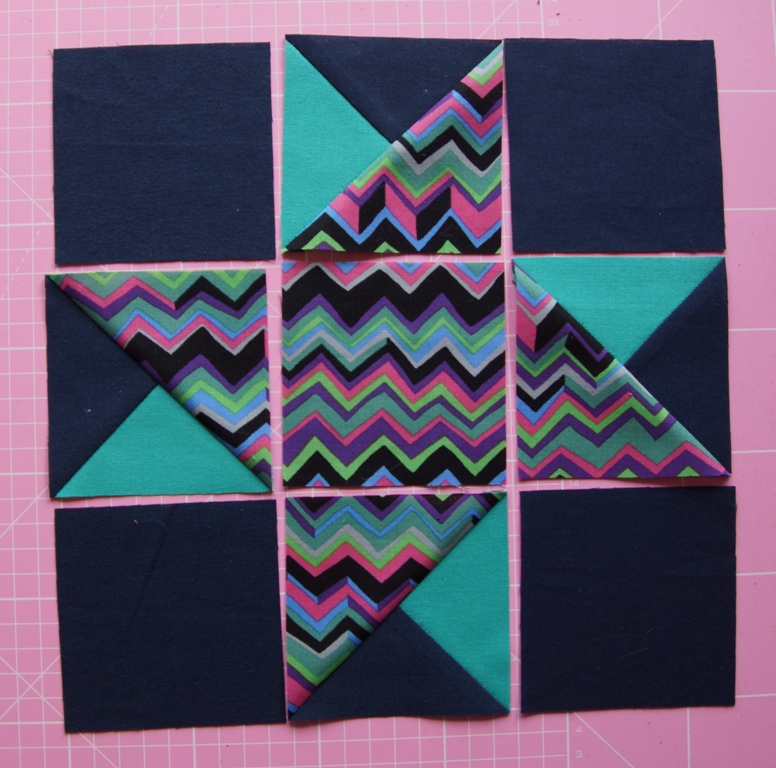
Lay out the block and sew together as a nine-patch.
(I’m so impressed that I didn’t mess up the stripes. Despite all the checking I did, I was sure I’d still manage to sew them the wrong way round and end up with half of them pointing the wrong way…)
Great tutorial !… and illustrates perfectly why I will most likely never be a good quilter… Brain too small.
🙂