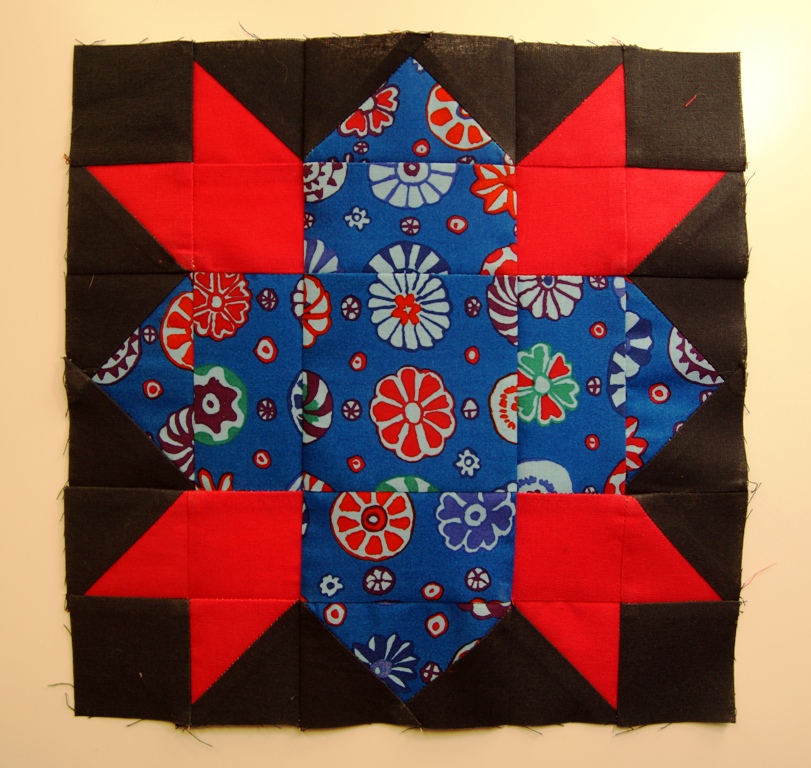
Block of the Whenever #8
Yet again, apologies for the lighting in the photos – even though it’s stopped raining (for now), the sky was still pretty overcast today, so it was pretty dark in my sewing room. I really should put a decent lamp in there… Anyway, the colours are way out in these photos. The “red” is actually quite pink in real life, and the blues are much brighter.
Block number 8 is quite a complex one. I’ve seen it called a Morning Star, but there’s a few other blocks that also get called Morning Star, so I’m not sure that’s actually the name.
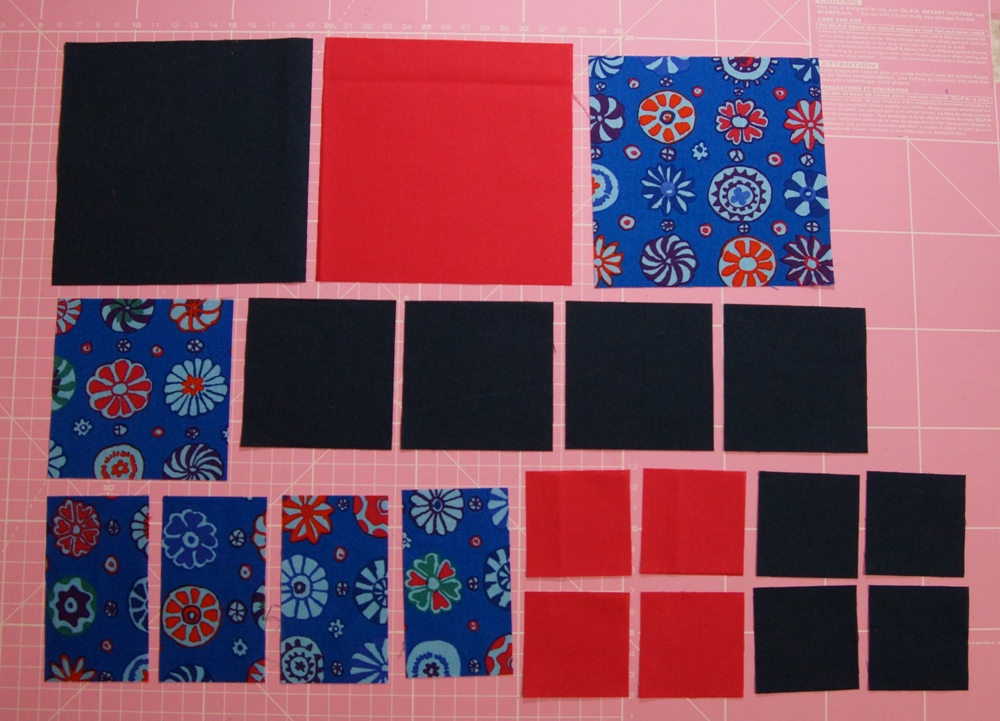
To make it you’ll need:
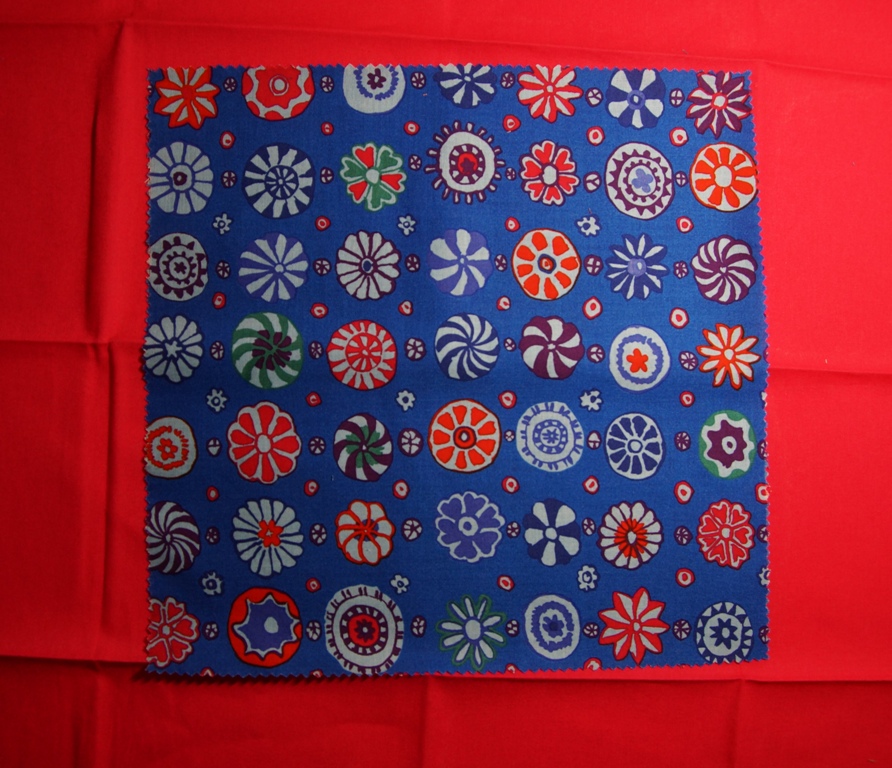
Print: one 4 1/4 inch square, one 3 1/2 inch square, and four 3 1/2 x 2 inch rectangles
Solid: one 5 inch square and four 2 inch squares
Background: one 5 inch square, four 2 3/8 inch squares, and four 2 inch squares
(I originally made a mistake with my calculations and made the 2 3/8 inch background squares 2 7/8 inches square, which is why they look a bit big below. Luckily, I was able to trim the resulting units down to the correct size once I realised my mistake).
I used yet another method for making half-square triangles, this time one which makes eight at a time. (Actually, it’s not strictly a new method – it’s technically just applying the two-at-a-time method to four squares at once, without cutting them up first. But it feels like a different method).
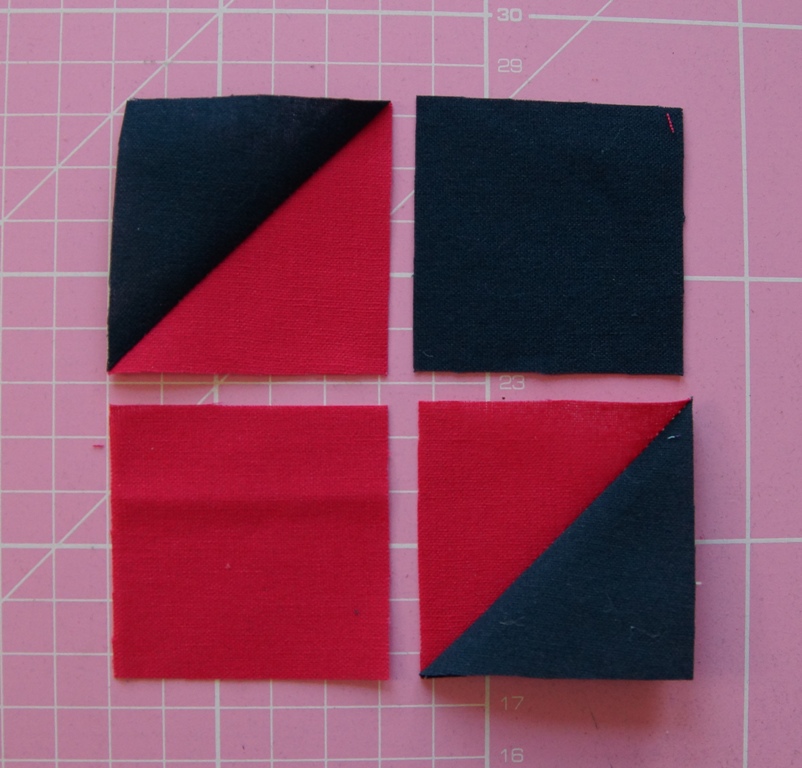
To make them, place the 5 inch solid and background squares right sides together, and draw diagonal lines from corner to corner in both directions.
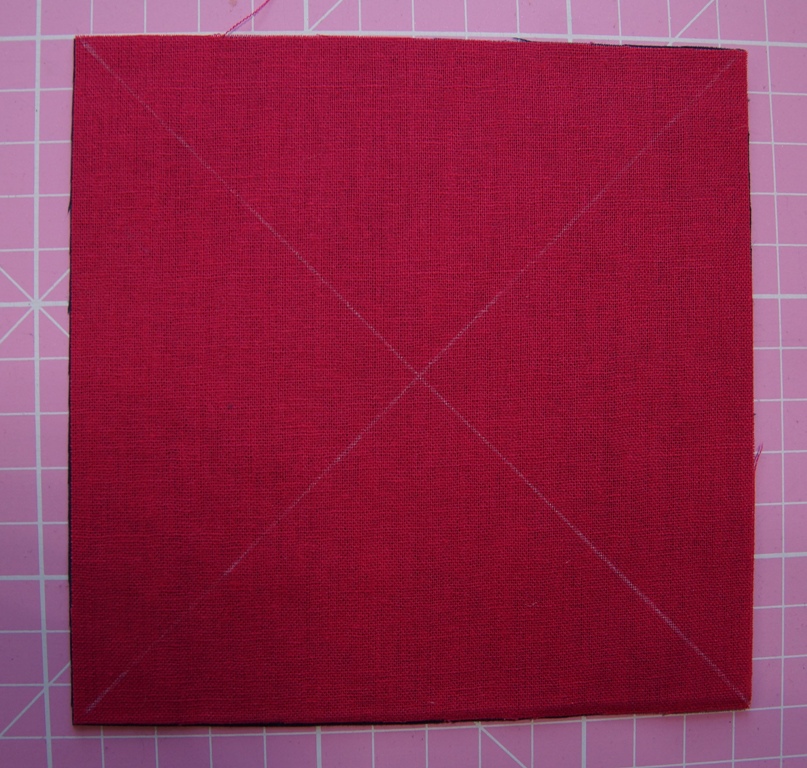
Stitch quarter of an inch on either side of each line.
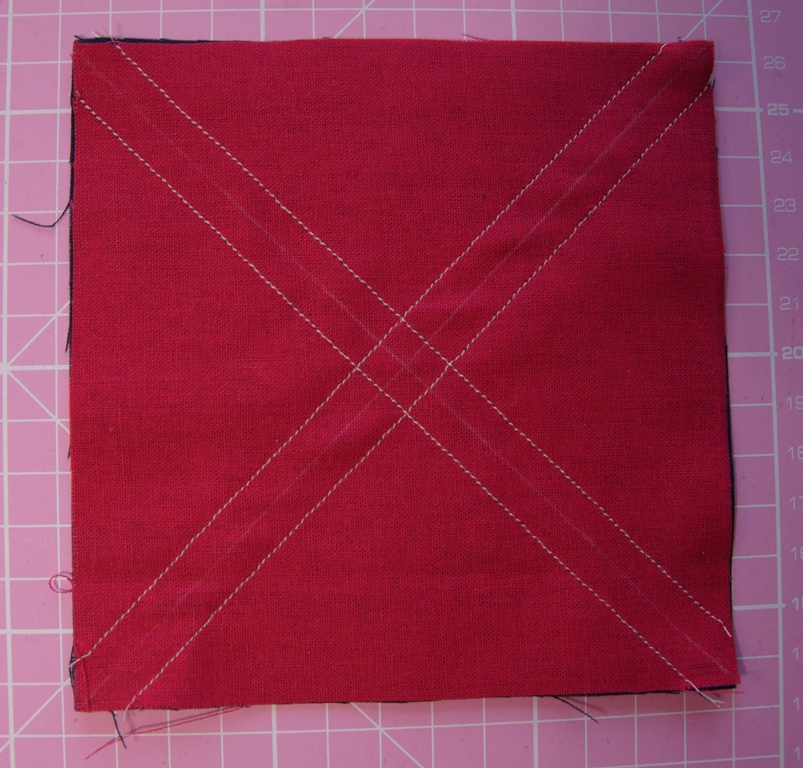
Cut the square in half horizontally and vertically, and along the marked lines.
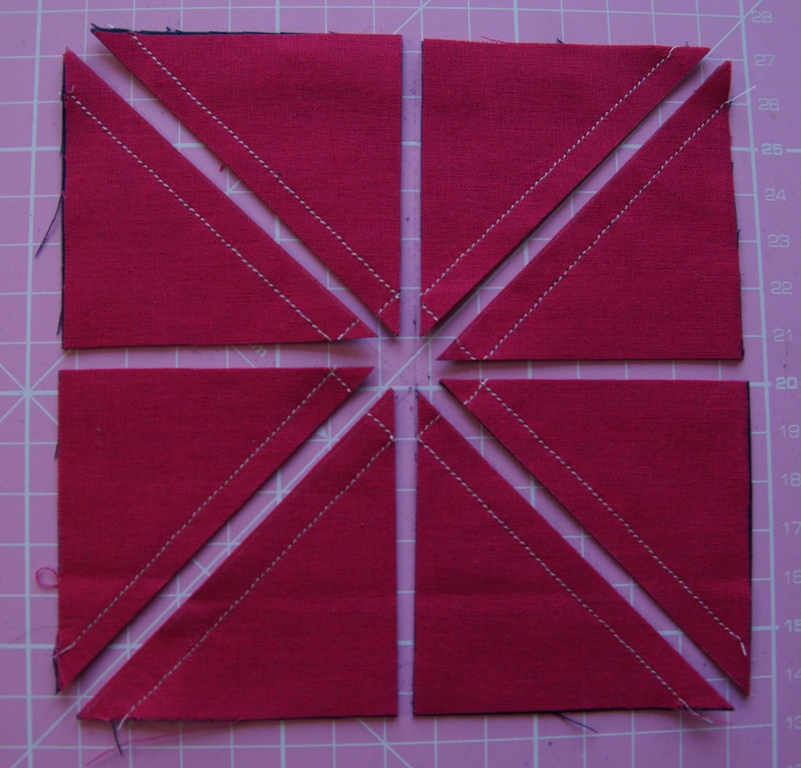
Press each piece open, to get eight HSTs.
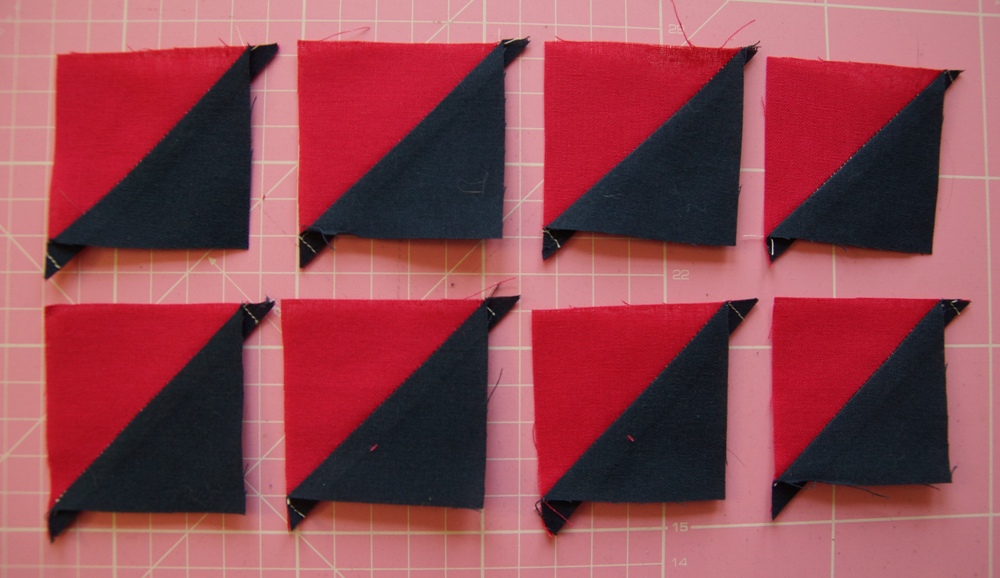
Cut off the dog ears, and trim to 2 inches square.
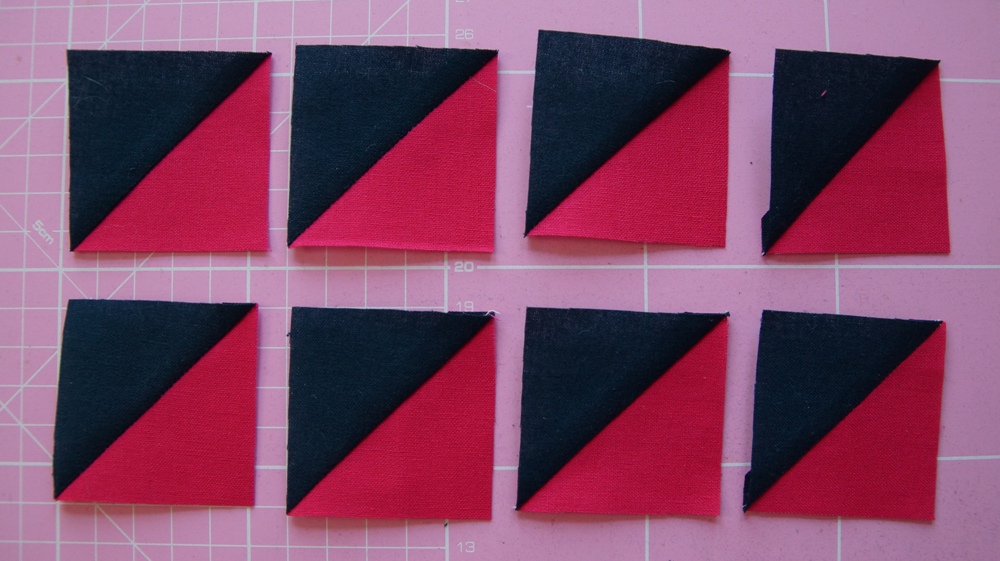
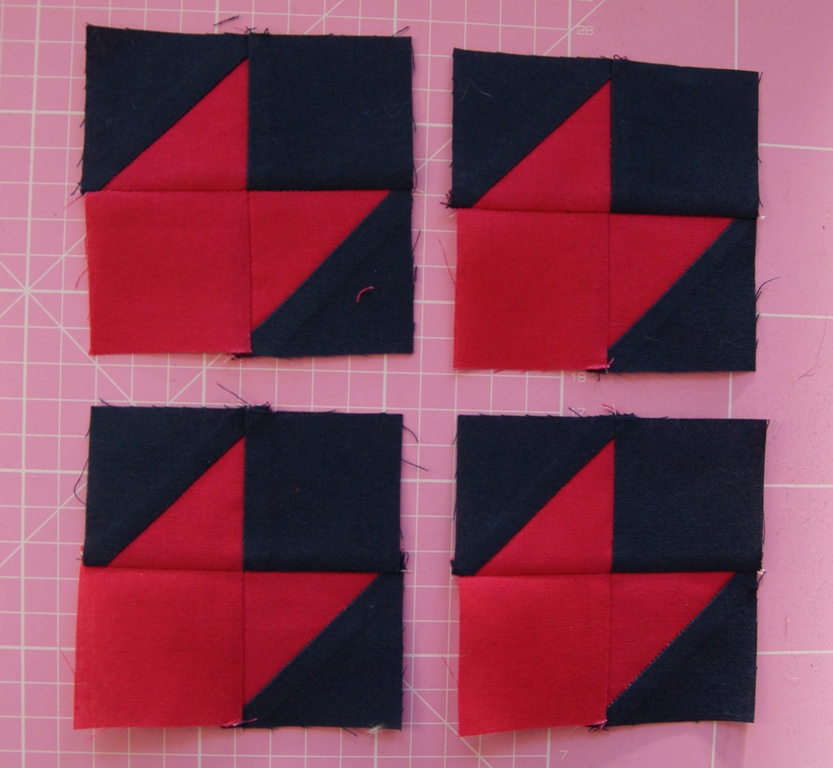
Combine two HSTs with a small solid and background block in a four-patch.
Repeat with the rest of the HSTs.
Now use the 4 1/4 inch print square with the other four background squares to make flying geese, using the same technique as in the Flying Dutchman block.
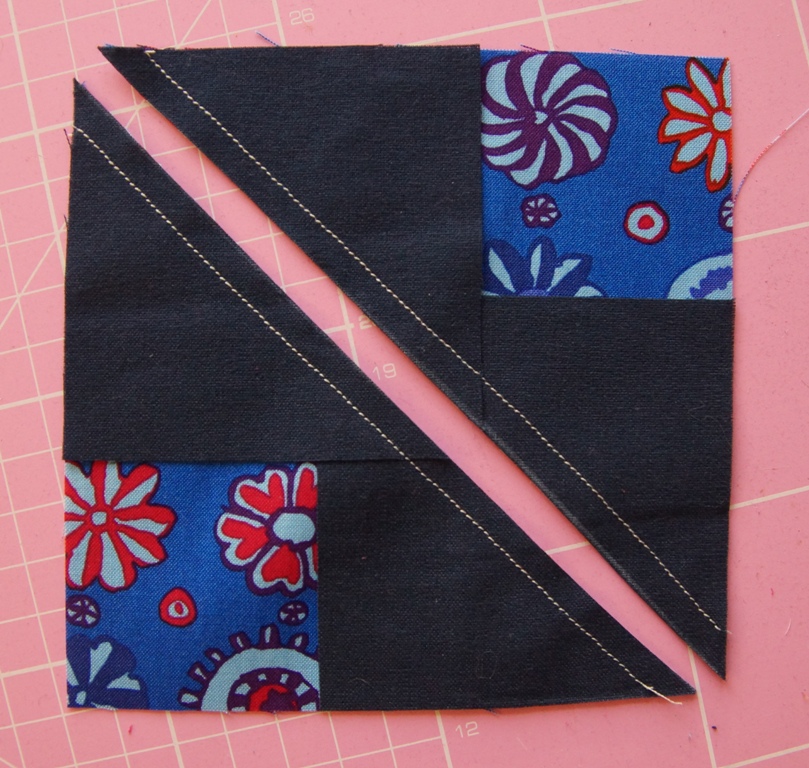
(This is about when I began to suspect I’d messed up the measurements, because the overlap between the two background squares was so huge. But I decided to continue anyway, and hopefully be able to trim them down later.)
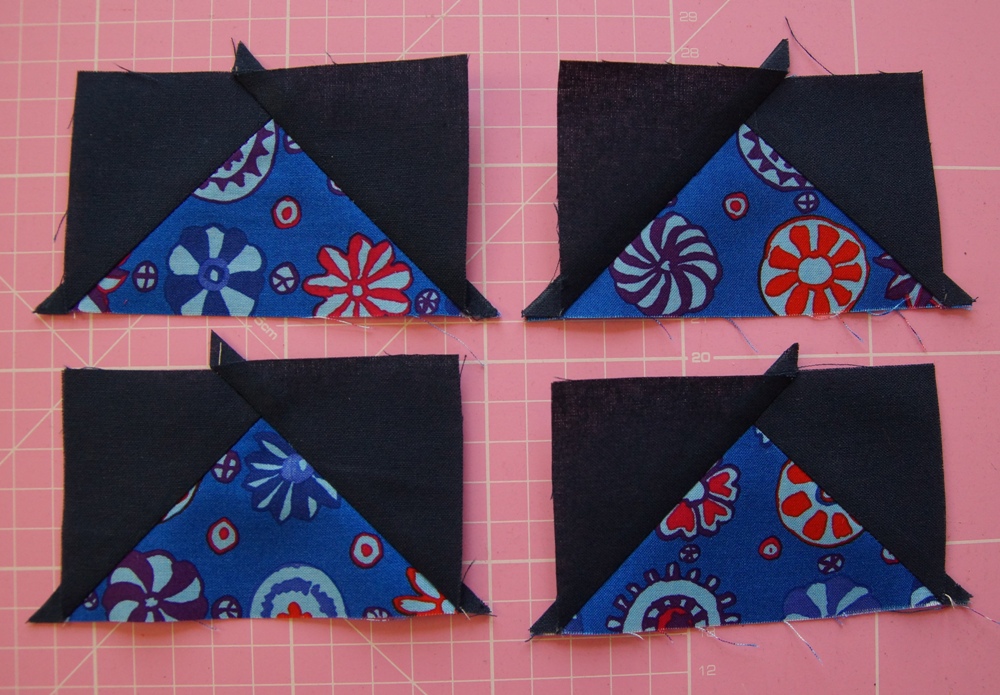
Sure enough, my flying geese turned out way too big. But I was able to trim them down to 3 1/2 by 2 inch, so it worked out ok. (The trick to trimming them down, if you’re ever faced with the same problem, is to first trim the pointy end of the goose so that the point is quarter of an inch from the edge. Then trim the other sides to fit the required size, making sure the goose stays symmetrical.)

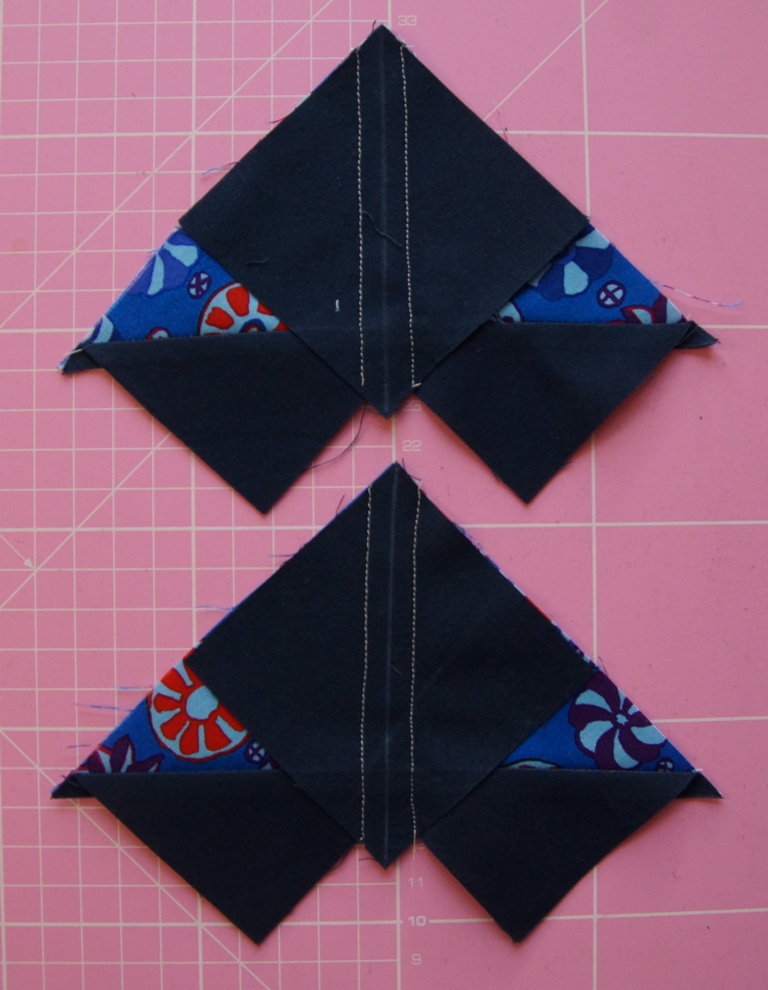
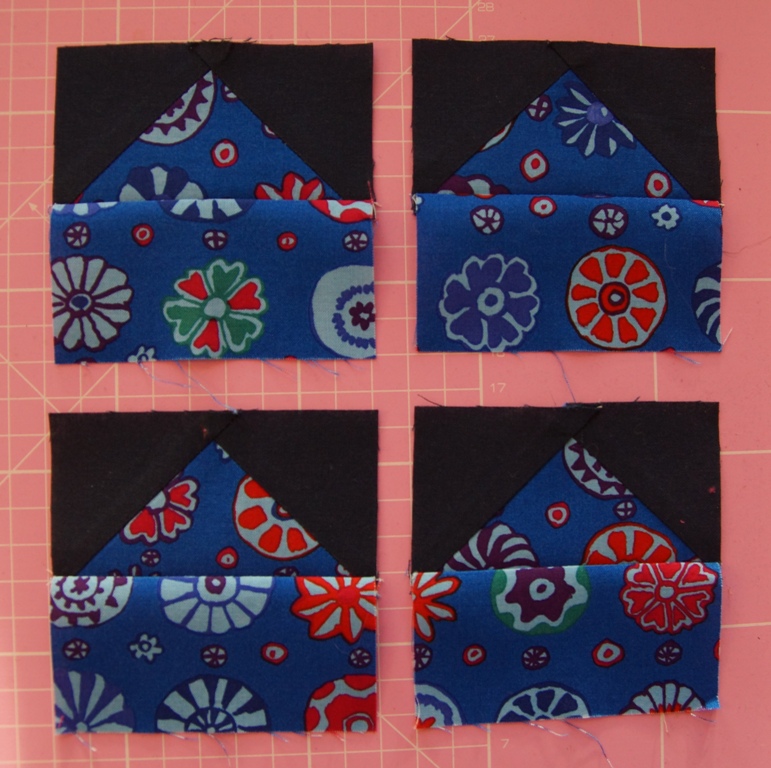
Sew each flying goose unit to a print rectangle.

Now lay out the complete block, and sew together as a nine-patch.